How do you park and set up a campervan at a campsite?
If you're wondering how to set up a campervan at a campsite, the good news is that it quickly becomes second nature. At many holiday parks and campgrounds, the order is simple: check in, find your bay, park carefully, level the van, connect services if needed, sort water and waste, then set up your outside space and relax.
Setting up at a campsite takes about ten minutes once you know the sequence. Park, hook up power and water if you're using them, and empty your grey water tank and toilet cassette if the site allows. Every hire comes with a walkthrough of the specific vehicle you've booked at pickup, so you don't need to remember exactly which cable goes where before you arrive. You can also watch handy how to videos in the thl Roadtrip app.
Here’s an explanation of the full process on arrival at a typical campground or holiday park:
Step 1: Check in and find your site
When you arrive, head to reception first to confirm your booking and ask for a campground map. It helps to check your site number, whether you've booked a powered campsite, where the water point is, where to empty waste, and whether there are any rules around campground facilities or quiet hours.
Once you have your map, locate your bay before you start your campervan set up. At larger campgrounds, that quick check-in conversation can save you from awkward turns, backtracking, or parking in the wrong place.
If you're staying at a New Zealand DOC campsite, or a national park in Australia, setup can look a little different. Some are bookable online, while others use self-registration, and facilities vary widely. Not every campsite has power, mains water, or on-site dump facilities, so it pays to understand what's available before you settle in.
Step 2: Drive through the campsite slowly
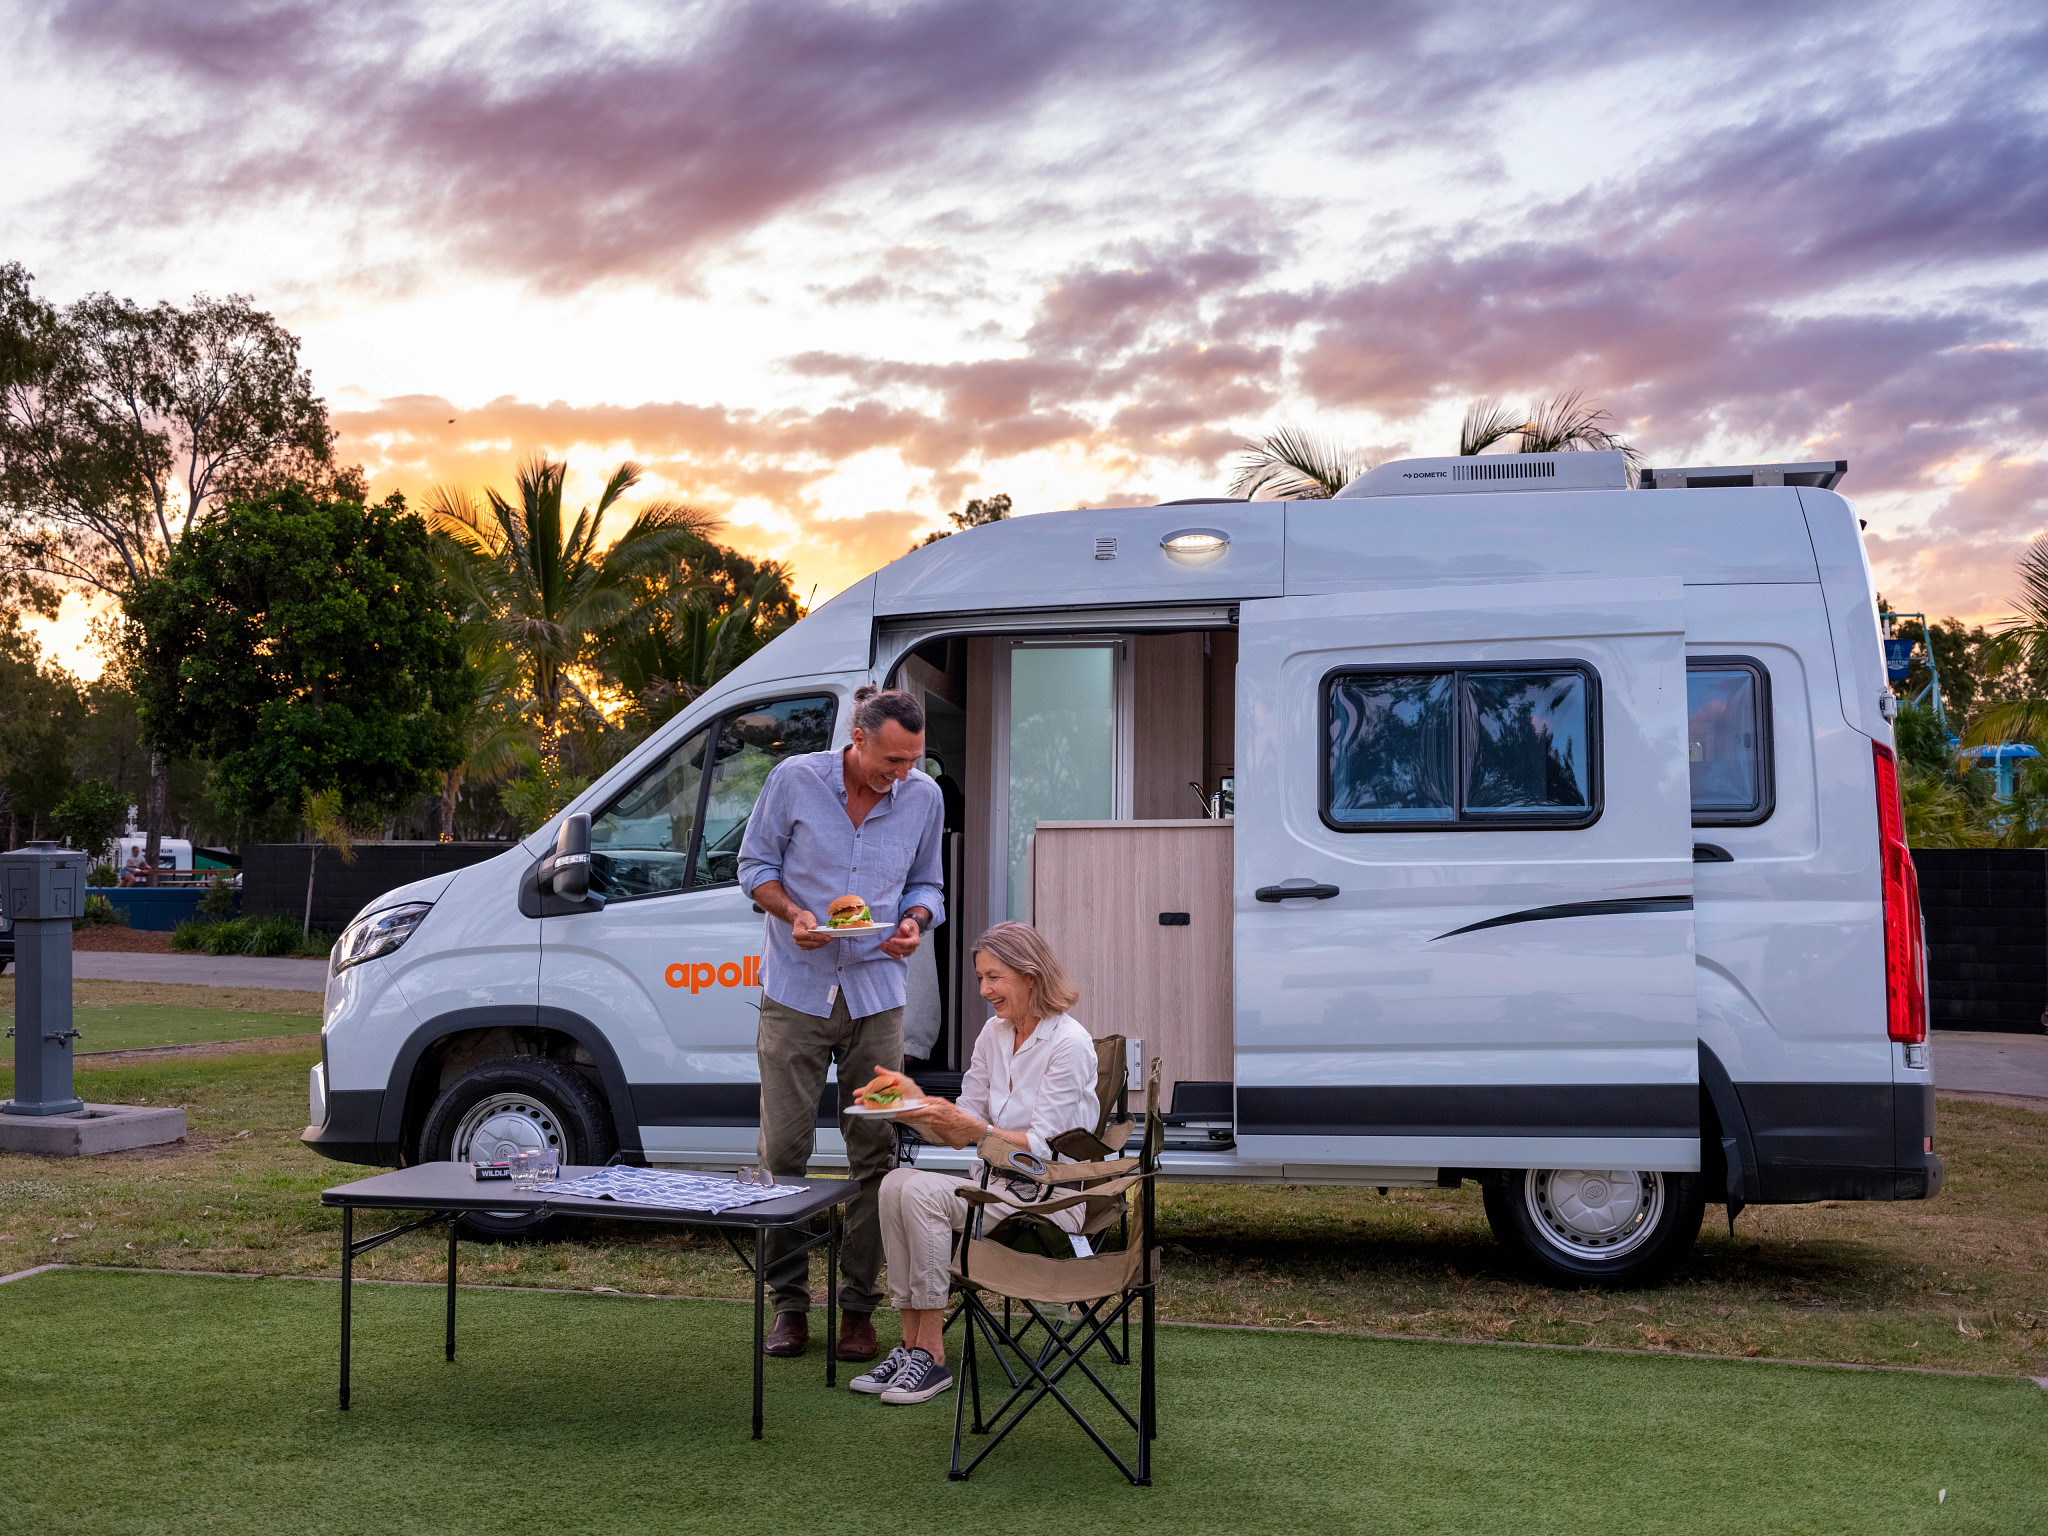
One of the most useful tips for how to park a campervan is simply to slow down. Campsite roads can be narrow and busy, with pedestrians, bikes and scooters, parked vehicles, low branches, and tight corners all competing for your attention.
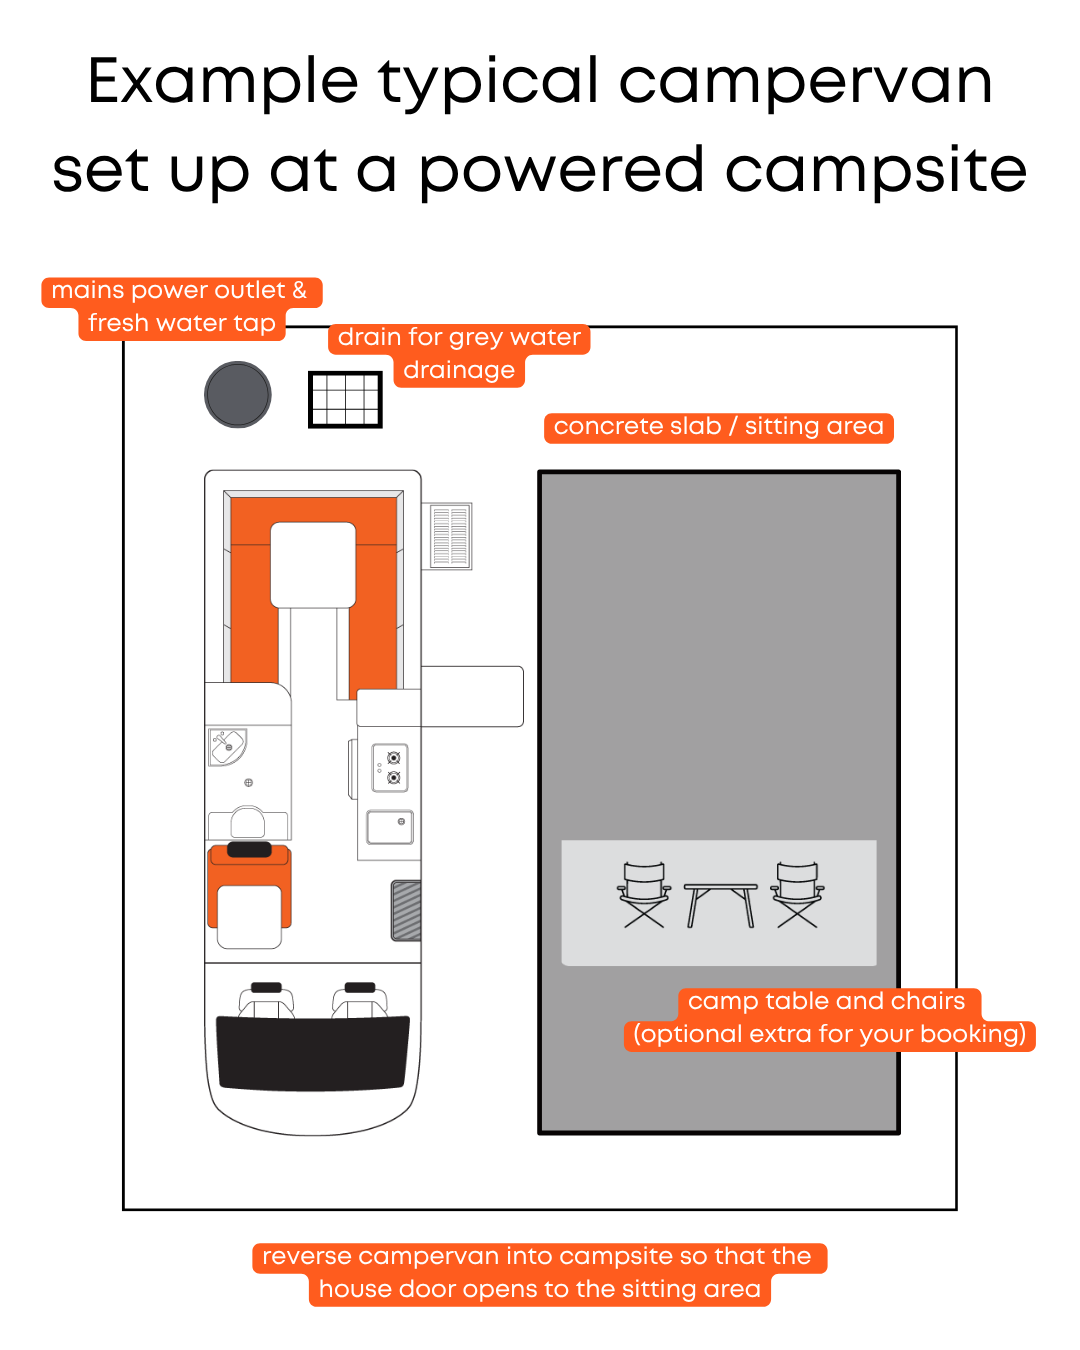
As you approach your bay, pause and look at the layout. Notice where the power outlet is, whether a water tap is nearby, and which side your campervan house door and awning opens from. A little planning now makes the rest of the setup easier and helps you avoid stretching cables or hoses across walkways.
If the angle feels awkward, go around and try again. Taking an extra minute to reset is always better than forcing a tight turn.
Step 3: Reverse into the bay carefully
At many campsites, reversing into the bay is a practical way to park. It often gives you better access to service points and can make the overall campervan set up neater and safer. The goal is to reverse in slowly, stay centred in the marked area, and leave enough room to open doors, service hatches, and the awning (if your campervan has one – not all Apollo models have awnings).
Use your side mirrors constantly and, if your vehicle has one, check the reversing camera too. Not every camper has a reversing camera, so do not rely on one being there. Make small steering adjustments rather than sharp corrections, and stop if you are unsure of your clearance.
If you're travelling with someone, ask them to spot from outside the van while you're reversing. Agree on simple hand signals before you start so the process feels calm and clear. Once you're in position, apply the handbrake, shift the vehicle into park mode, switch off the engine, and do a quick visual check around the van.
Step 4: Level the campervan
After parking, make sure the campervan is as level as possible on your assigned site. This is important because campervan fridges and water pumps work best when the vehicle is not sitting on a noticeable slope, and sleeping is more comfortable when the campervan is parked on a level area.
A quick check inside the van will usually tell you whether the angle feels workable. If the site seems too steep or awkward for your vehicle, it is worth speaking with campground staff before you continue setting up.
Step 5: Understand powered and unpowered campsites
A powered campsite gives you access to mains electricity at your designated bay. This is the option to choose if you want to use campervan features that rely on being plugged in, such as power outlets, air conditioning, and the microwave.
Apollo recommends plugging in at a powered campsite every second night to top up the campervan's house battery. Plugging in tops up the house battery which powers things like the lights, fridge, and water pump, so it is a good habit to build into your trip.
If you're only staying a short time and do not need mains-powered extras, a non-powered site may suit you. But if maximum comfort, regular charging, and full use of onboard features matter to you, it makes sense to book powered specifically. In busy seasons, powered bays can fill quickly so it's best to book in advance.
Step 6: Hook up power safely
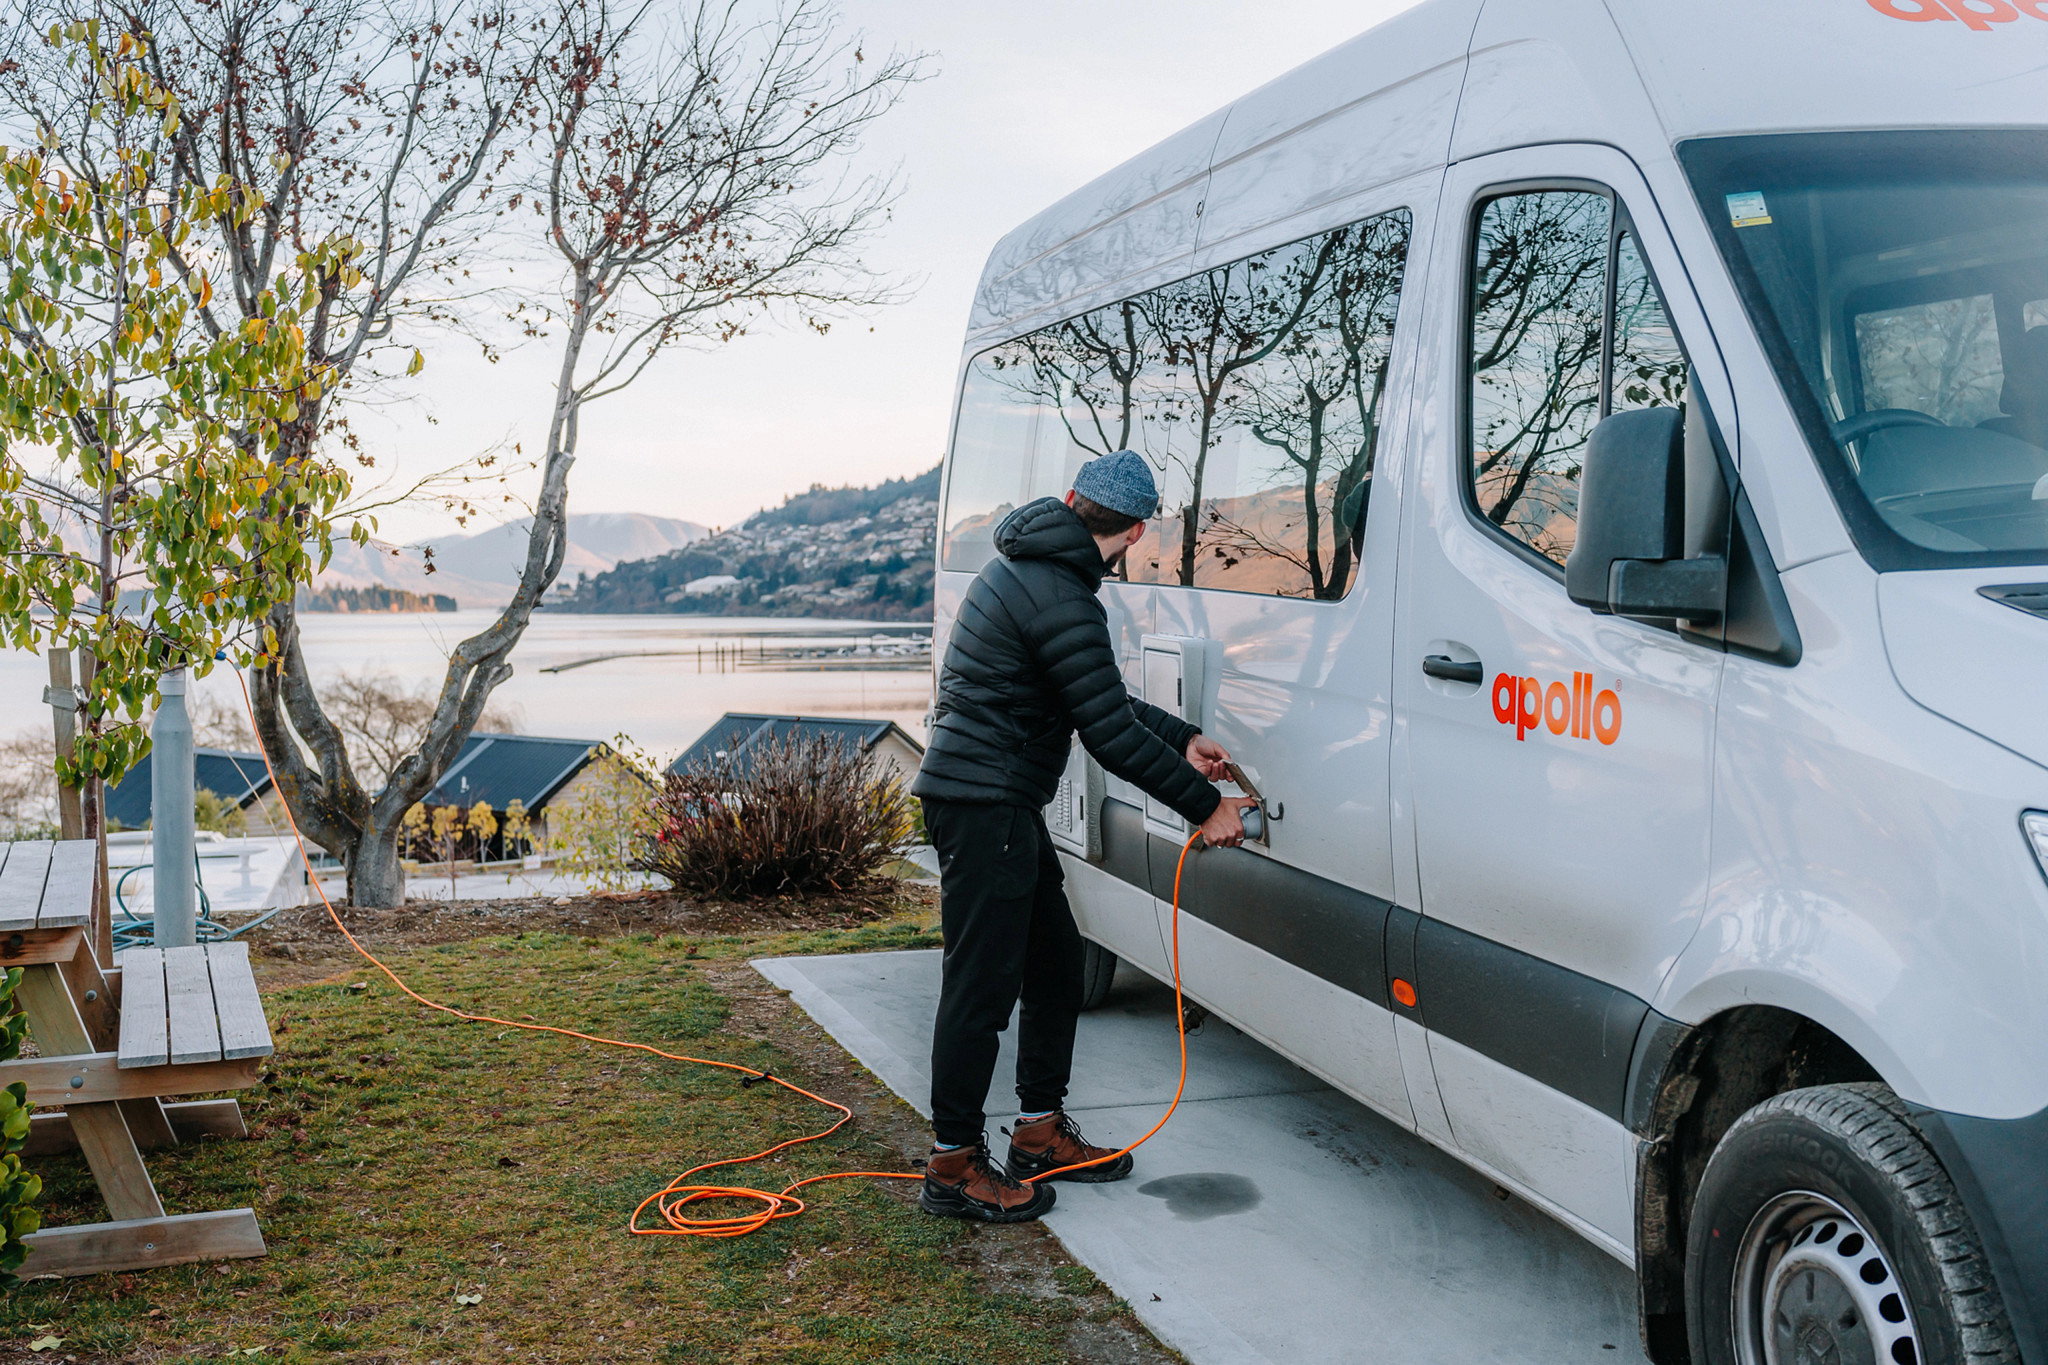
If you've booked a powered campsite, connect electricity carefully and in the right order. Start by locating the campground power pedestal and checking that your lead reaches comfortably without creating a trip hazard.
Use only the approved lead supplied with the campervan. Fully uncoil it before use and keep it away from water, sharp edges, and vehicle wheels. The safest sequence is to switch the campground supply off before connecting, plug in the approved lead, then switch the supply on.
If anything seems wrong, such as damage, heat, a loose connection, or a tripped system, stop and ask campground staff or Apollo's on road care team for help. The phone number for the on road care team will be located on your vehicle key tag.
Before driving away, always switch the supply off, disconnect the lead, and stow it properly. If you realise you've forgotten and the van is still plugged in, stop immediately and disconnect before moving any further.
Step 7: Fill the fresh water tank
Your fresh water tank is used for showers, washing up, and flushing the toilet, so keeping it topped up is an important part of how to set up a campervan. It is recommended to fill the fresh water tank every two days.
If your site has a tap, connect the approved fresh water hose according to your vehicle instructions. If not, use the campground's designated filling point. The exact filler location can vary between models, which is why the vehicle walkthrough is so helpful.
It is also smart to keep an eye on your water level through the trip, especially when services are limited. For Apollo campervans, the fresh water tank is non-potable water, so source reliable clean drinking water separately.
Step 8: Empty grey water and the toilet cassette
It's important for you to understand the waste and water systems in the campervan. This is not the most glamorous part of campervan set up, but it is essential, easy to do and only takes a few minutes. Grey water is wastewater from the sink and shower, and the toilet cassette holds toilet waste - sometimes referred to as black water. Both should be emptied only at approved dump points or campground-approved facilities - never empty them anywhere other than a designated dump point as it's damaging for the natural environment, and you can risk receiving a costly fine.
It is recommended to empty the grey water and toilet cassette every two days. Some holiday parks in Australia and New Zealand have an on-site dump station, while others will direct you to a nearby public facility. If you are unsure, ask at reception instead of guessing. You can also search for dump stations in the thl Roadtrip app.
Always follow your vehicle-specific instructions for opening valves, removing the cassette, rinsing components, and securing everything again afterwards. Keep fresh water gear separate from waste equipment, close all hatches properly when you're done, and leave the area clean for the next traveller.
Outside formal campgrounds, rules can be stricter. Freedom camping, national parks and council run rest areas may have tighter waste rules, and waste should never be emptied anywhere other than an authorised dump station.
Step 9: Set up your outdoor space
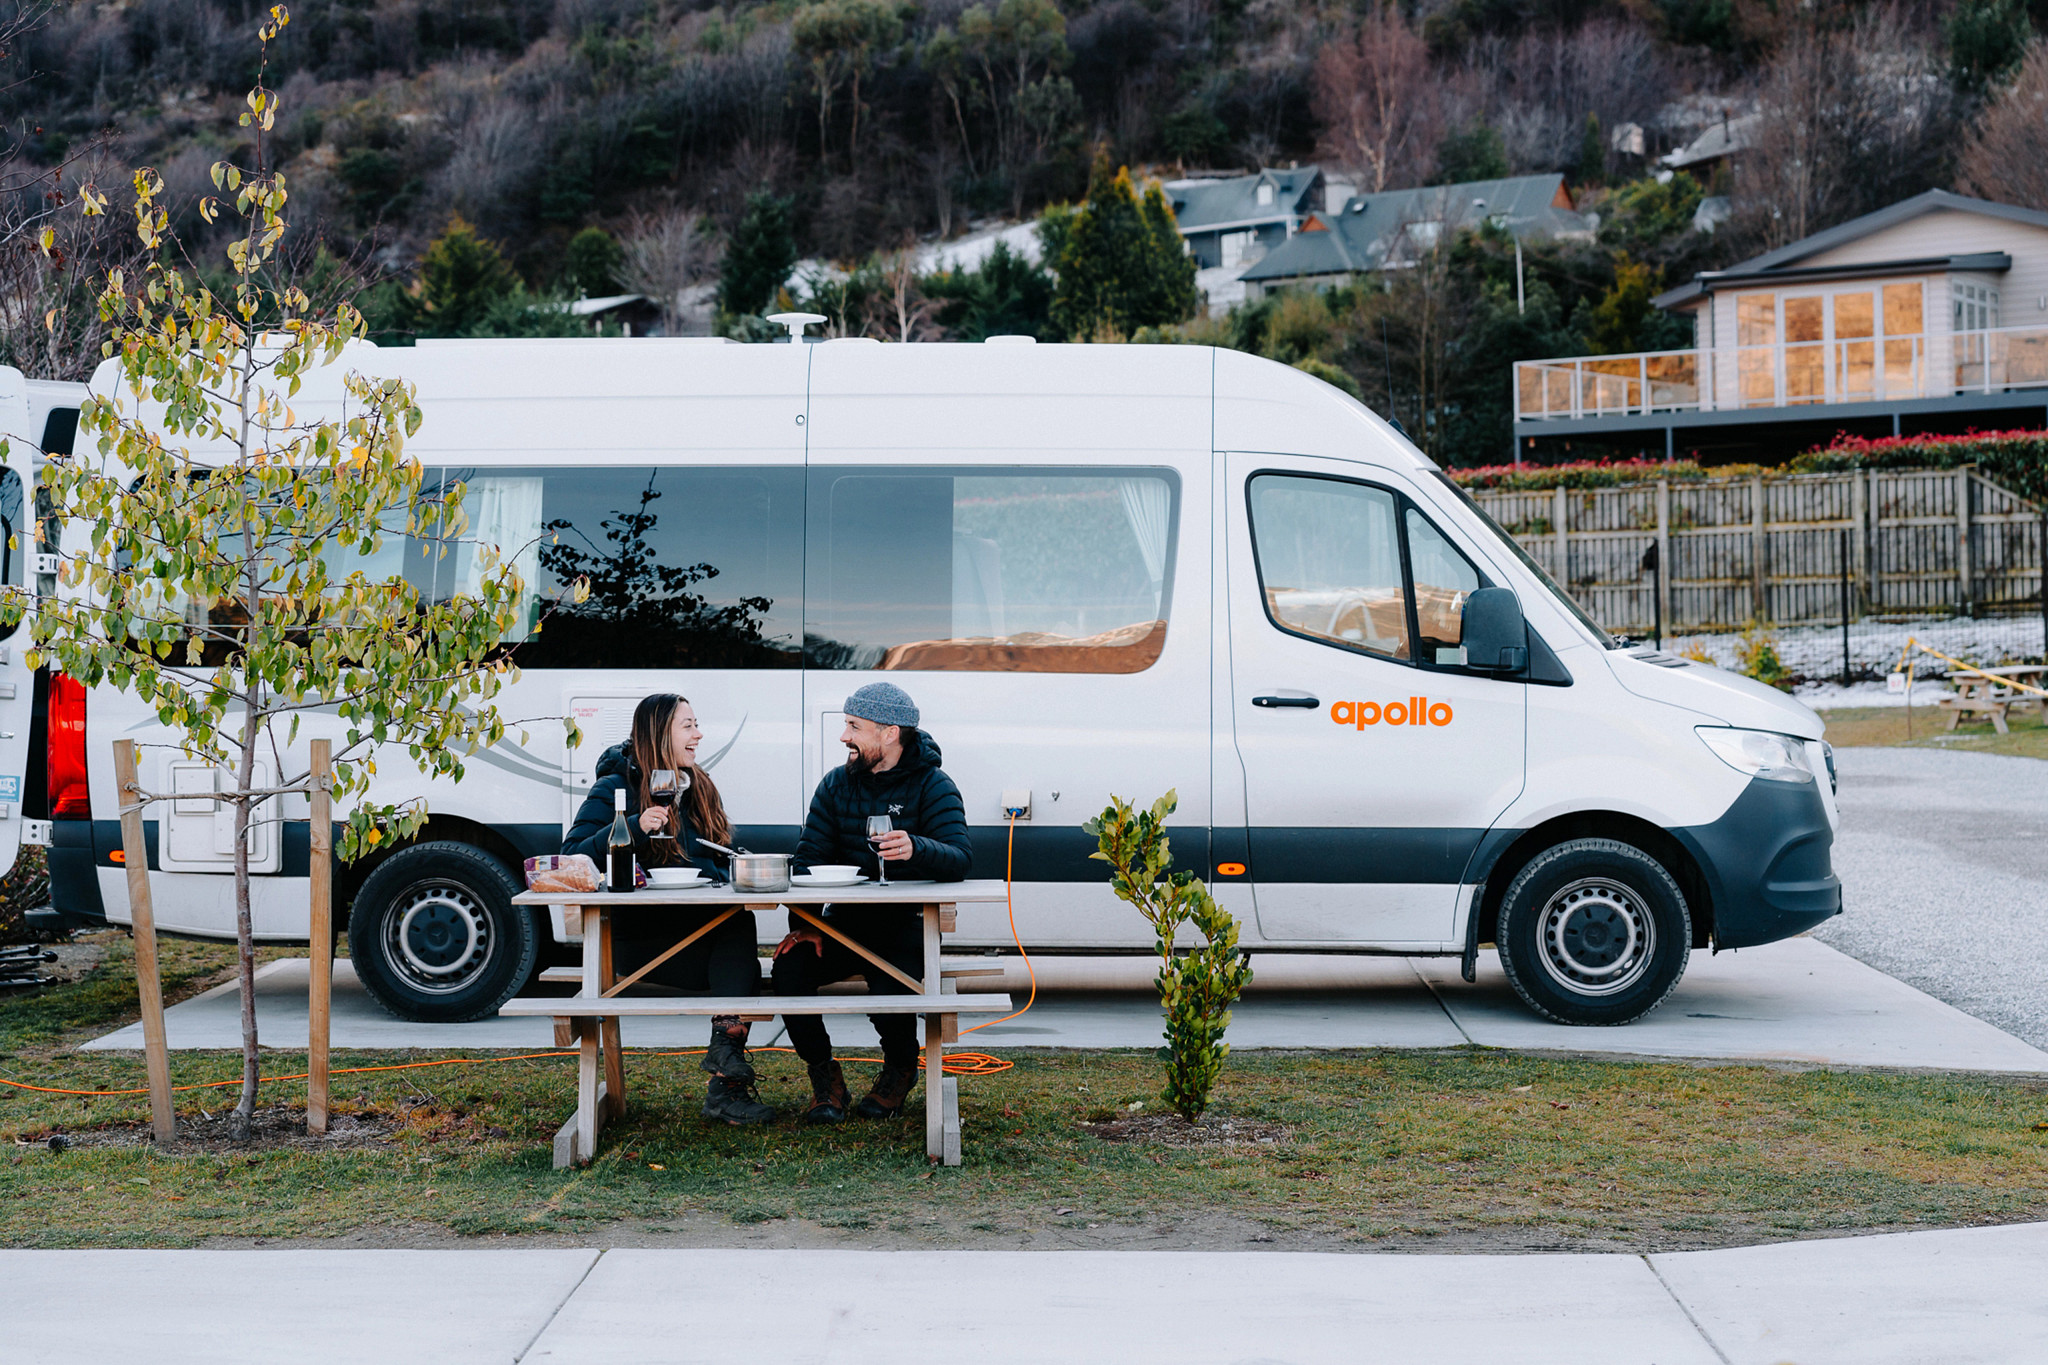
Once the practical jobs are done, you can settle in properly. At many campgrounds and holiday parks, that usually means rolling out the awning (if your vehicle has one and you'd like the extra shade), setting up camp chairs, and putting out the camp table (these are optional extras should you like to add them to your booking on pickup).
Before opening the awning, check that there is enough clearance from trees, neighbouring vehicles, and posts. Set it up exactly as shown during your vehicle walkthrough, and keep an eye on the weather. Strong wind and heavy rain can damage an awning quickly, so retract it if conditions change or if you're leaving the site unattended. The awning is for shade only.
Keep your outdoor setup within your assigned site boundary and leave access clear around the power pedestal, service hatches, and doors. In public parking areas used for freedom camping, awnings, chairs, and tables may not be permitted.
A quick campsite setup checklist
Once everything is in place, do one final walk-around. Check that the van is parked neatly inside the bay, the handbrake is on, the camper is level, and any power or water connections are secure and tidy. Make sure waste valves and caps are closed, and that your awning and outdoor furniture are stable and within your site. That final minute of checking makes pack-down simpler later and helps you relax once the setup is done.
Here's a quick checklist:
| Campsite Set Up Checklist | What to Look For |
|---|---|
| Parking Position | Ensure the campervan is parked neatly within your campsite bay. |
| Handbrake | Confirm the handbrake is engaged before leaving the vehicle. |
| Vehicle Level | Check that the camper is level for comfort and the safe operation of onboard appliances. |
| Power & Water Connections | Make sure all power and water hookups are secure, safe, and neatly arranged. |
| Waste Valves & Caps | Verify that waste valves are closed and all caps are securely fitted. |
| Awning Setup | Check that the awning is stable and properly secured. |
| Outdoor Furniture | Ensure tables, chairs, and other outdoor items are stable and contained within your campsite boundary. |
| Final Walk-Around | Complete one last inspection to confirm everything is safe, tidy, and ready for your stay before you settle in and relax. |
Once you know the order, how to set up a campervan at a campsite becomes one of the easiest parts of the trip. Check in, park carefully, connect what you need, and do a quick final check before you relax.
When you're ready, you can easily book your Apollo camper online and pick it up from your closest Apollo branch before hitting the road.
FAQs and quick answers
What if the site's full and I can't get my ideal bay?
Do not take another guest's site or block the road while deciding. Check with reception and ask for a bay that suits your vehicle size, power needs, and access requirements. Most holiday parks have assigned sites, but some campgrounds don’t have assigned sites so it’s worth checking this before you settle in.
How do I know if the ground is level enough?
Aim to park as level as possible on your assigned site. If the van is sitting on an obvious slope or the site does not feel suitable for your vehicle, ask campground staff for advice.
Do I need to book powered specifically?
Yes, if you want mains-powered features like outlets, air conditioning, or the microwave. It is also the best choice if you want to recharge the house battery regularly during your trip so it’s worth planning your trip with this in mind.
What happens if I forget to disconnect power before I drive off?
Stop immediately and do not continue moving. Switch off the supply, disconnect the lead safely, and check for any damage before you continue. If there is any damage or you need help, contact thl’s on road care team via the phone number on your vehicle key tag.
